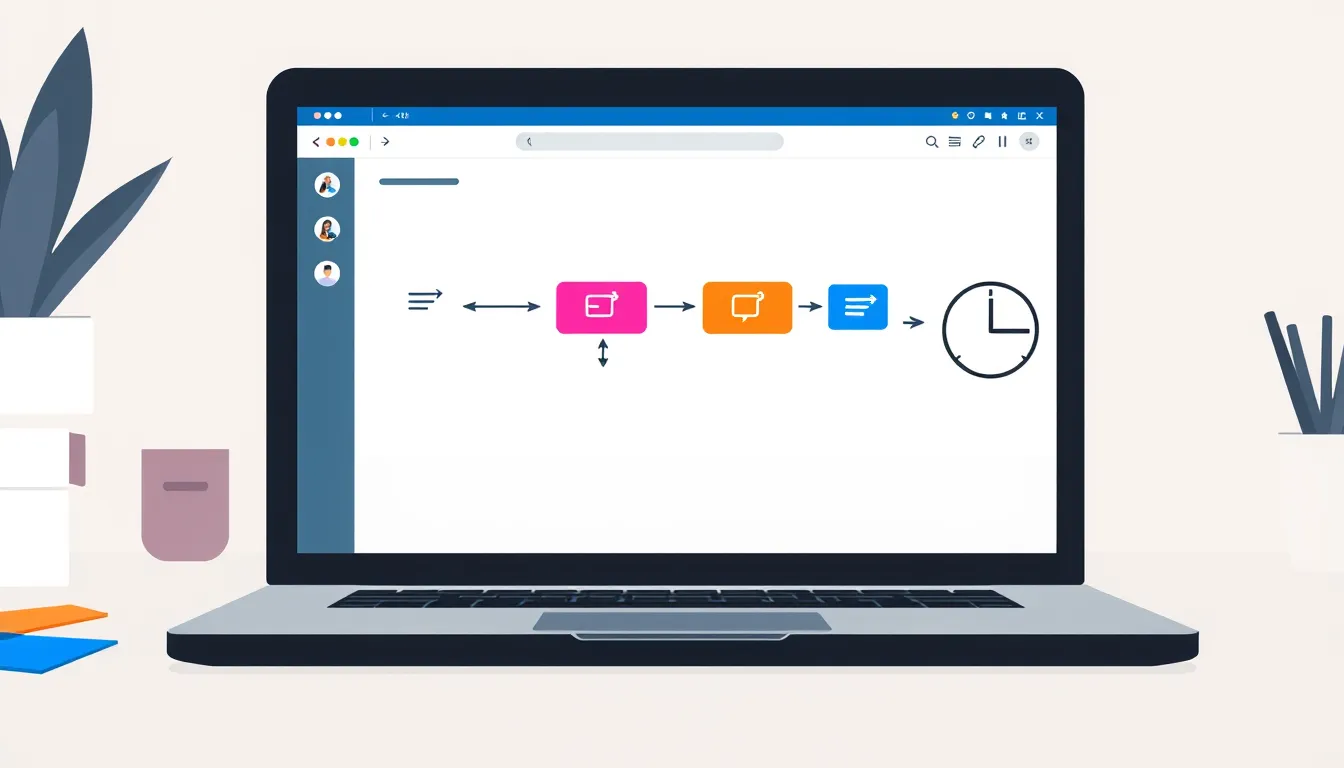
If you spend hours on data entry, email follow-ups, or status updates, you are ready to reclaim your time. This guide shows you how to automate repetitive tasks without learning to code by using visual workflow builders. You will learn to identify high-impact processes and connect applications using no-code tools.
You do not need technical expertise or expensive software. Instead, you will focus on defining triggers and actions to create reliable integrations. By following these practical steps, you will build automated workflows that reduce manual errors and save significant hours each week.
Identifying Tasks Worth Automating
Before opening any no-code tool, you must pinpoint which processes offer the highest return on investment. Not every repetitive task deserves your attention immediately. Focus on activities that are frequent, rule-based, and time-consuming. These three criteria ensure your first automated workflow delivers tangible value without introducing complex logic errors.
Start by conducting a one-week audit of your daily operations. Log every manual step you perform, noting how often it occurs and how long it takes. Look for patterns where you copy data from one application to another or follow a rigid sequence of clicks. A task is an ideal candidate if you can describe its steps as a simple if-then logic. For example, „when a new lead arrives, send an email“ is a clear Trigger and Action pair. If the task requires subjective judgment, creative interpretation, or handling unexpected exceptions, it is a poor candidate for initial automation. Complex decision-making often leads to brittle integrations that fail when real-world data varies.
Prioritize tasks that involve high volume and low variability. Moving a file from a shared drive to a cloud folder after every upload is a strong contender because the rule is static. Conversely, drafting a unique response to every customer inquiry requires human nuance that current visual workflow builders struggle to replicate reliably. By filtering out judgment-heavy tasks, you reduce the risk of over-engineering your first projects. This approach allows you to build confidence in your understanding of Triggers and Actions before tackling more sophisticated Integrations. Stick to tasks where the outcome is predictable and the steps are identical every time. This foundation ensures your early Workflow implementations remain stable and easy to maintain.
Choosing the Right No-Code Tools
Once you have identified your target tasks, select the appropriate No-code tool based on its primary function. General-purpose automation platforms connect various applications through visual builders, handling complex Integrations across different software suites. Dedicated tools focus on specific niches, such as email management or data entry, offering streamlined interfaces for those repetitive Operations. Understanding this distinction helps you avoid unnecessary complexity.
Before adopting new software, audit the built-in features of your existing applications. Many platforms include native automation capabilities that handle simple Triggers without requiring external services. If your current email client or project management tool can manage the specific Action needed, use it. This approach minimizes the learning curve and reduces the number of distinct platforms you must maintain. Only introduce a dedicated automation platform when your Workflow requires connecting multiple disparate systems that do not natively integrate with one another.
Start by leveraging tools you already use daily. This familiarity ensures that the initial setup feels intuitive rather than overwhelming. As your confidence grows, expand your toolkit to include specialized No-code solutions that address gaps in your current stack. By prioritizing existing resources, you keep your initial implementations lean and effective. This strategy prevents tool sprawl, where too many platforms create confusion and increase maintenance overhead. Focus on functional fit over feature breadth. A simple tool that perfectly handles your specific task is superior to a complex platform that offers irrelevant capabilities. Ensure each new addition solves a clear problem identified in your previous analysis.
Remember that the goal is efficiency, not technology accumulation. Test the integration points carefully to ensure data flows smoothly between applications. If a built-in feature fails to meet your needs, then and only then should you explore external options. This disciplined approach ensures your automation strategy remains sustainable and scalable as your business processes evolve.
Mapping Your Workflow Before Building
Before opening any no-code tool, document your current manual process on a whiteboard or in a simple document. Write down every step, no matter how trivial. This prevents gaps in logic later. For instance, if moving an email attachment to a cloud folder, list the steps: receiving the email, identifying the specific sender, extracting the attachment, formatting the filename, uploading it, and notifying the team. Skipping this step often leads to workflows that fail on edge cases.
Next, clearly define the Trigger and the Actions. The Trigger is the specific event that starts the Workflow, such as „new email arrives“ or „row added to spreadsheet.“ Be precise; vague triggers cause unpredictable behavior. The Actions are the subsequent tasks performed in sequence, like „save file“ or „send Slack message.“ Distinguishing these two components helps you structure the visual builder correctly.
Finally, map your data sources and destinations. Identify where the data originates and where it needs to end up. In the email example, the source is the email server, and the destination is the cloud storage service. Note any data transformations required, such as renaming files or changing formats. This ensures the Integration handles data correctly without manual intervention. By visualizing this flow, you reduce errors and ensure the Workflow aligns with actual business needs before you spend time building it in a No-code tool.
Building Your First Automated Workflow
Now that your process is mapped, open your chosen No-code tool to construct the Integration. Follow these steps to build the initial Version of your Workflow.
- Select the Trigger. Choose the specific event that starts the process, such as „New Email Received“ or „File Uploaded.“ The expected result is a system listening for this specific signal without constant manual checking.
- Connect the Data Source. Link the application where the data originates. You may need to authorize access via API keys or OAuth. This establishes a secure bridge between your existing tools and the automation platform.
- Define the Action. Select the task to perform, like „Create Spreadsheet Row“ or „Send Notification.“ This step dictates what happens immediately after the Trigger fires.
- Configure Data Mapping. Drag fields from the source to the destination fields in the Action. For example, map the „Subject Line“ to the „Title“ field. Accurate mapping ensures data lands in the correct place without manual reformatting.
- Save and Activate. Name your Workflow and toggle it to „Live.“ The system now runs in the background, processing new data automatically.
Once active, the expected result is a seamless transfer of information. If the Trigger is a new form submission, the Action might be a file appearing in cloud storage within seconds. You will no longer need to copy and paste data. Instead, you monitor the system for errors. If data appears incorrectly, return to the Data Mapping step to adjust field assignments. This iterative process refines the Integration until it matches your mapped Workflow exactly. Keep the initial Workflow simple; add complex logic only after the basic flow runs smoothly. This approach minimizes debugging time and ensures reliability from day one.
Testing, Monitoring, and Common Mistakes
Before deploying your Workflow to live data, run a test sequence using sample records. This verifies that each Trigger correctly initiates the process and that every Action executes in the intended order. Observe the output closely to ensure data formats remain consistent across all steps. If the test fails, isolate the specific Action causing the error rather than restarting the entire sequence.
Many users make critical mistakes during this phase. A frequent error is over-complicating the initial Workflow. Adding too many conditional branches or complex integrations before the basic flow is stable creates unnecessary debugging work. Start with a linear sequence of Actions and introduce complexity only after the core Integration runs reliably.
Ignoring error handling is another significant oversight. You must define what happens if a step fails, such as a network timeout or a missing field. Without a defined fallback, the Workflow may halt silently, leaving data incomplete or duplicated. Configure your No-code tool to log failed runs and send notifications to your team so issues are caught immediately.
Finally, neglecting to monitor for changes in source data formats breaks automations over time. If an upstream system updates a field name or changes a date format, your Integration stops working. Set up periodic reviews of your data sources. When an automation stops functioning, check the execution logs first. They pinpoint the exact step where the process failed. Compare the input data against your original Data Mapping to identify discrepancies. Adjust the field assignments or validation rules, then re-run the test cycle to confirm the fix. This systematic approach ensures long-term stability and reduces manual intervention.
Schreibe einen Kommentar